
|
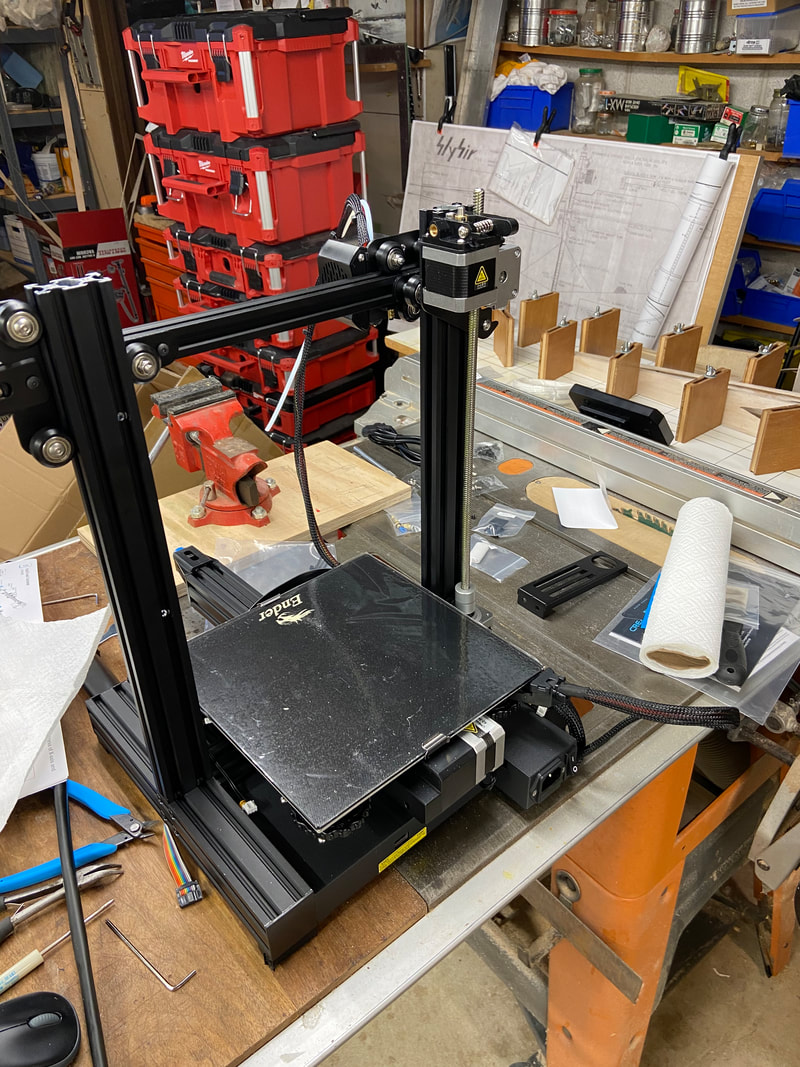
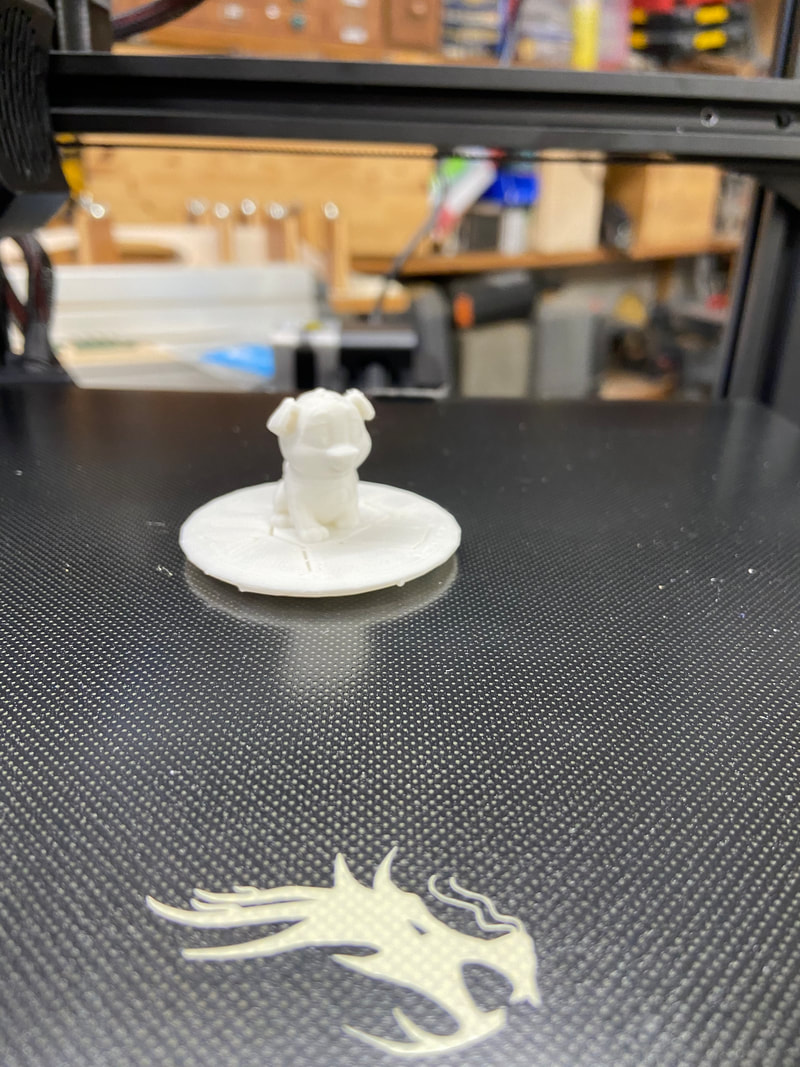
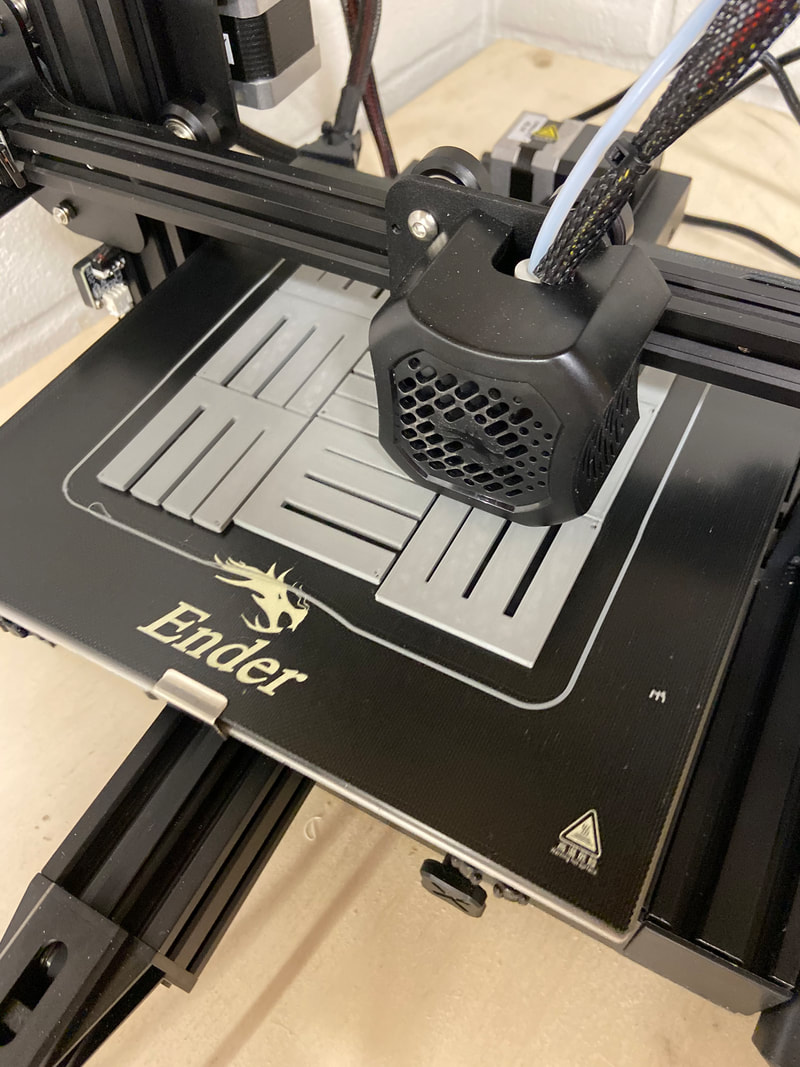
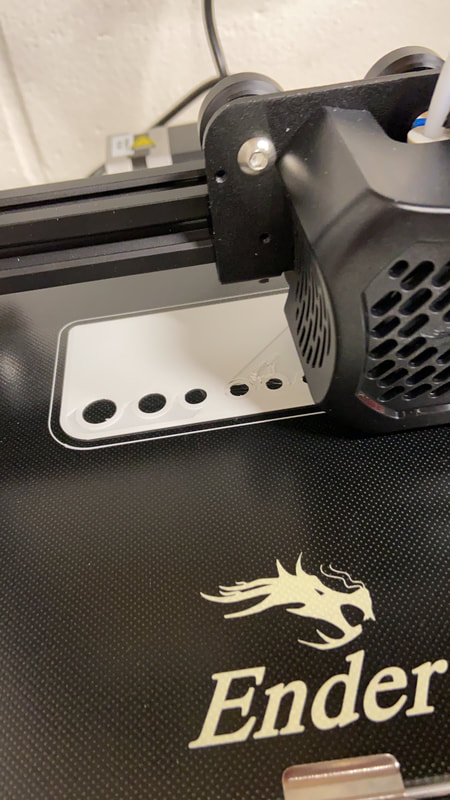
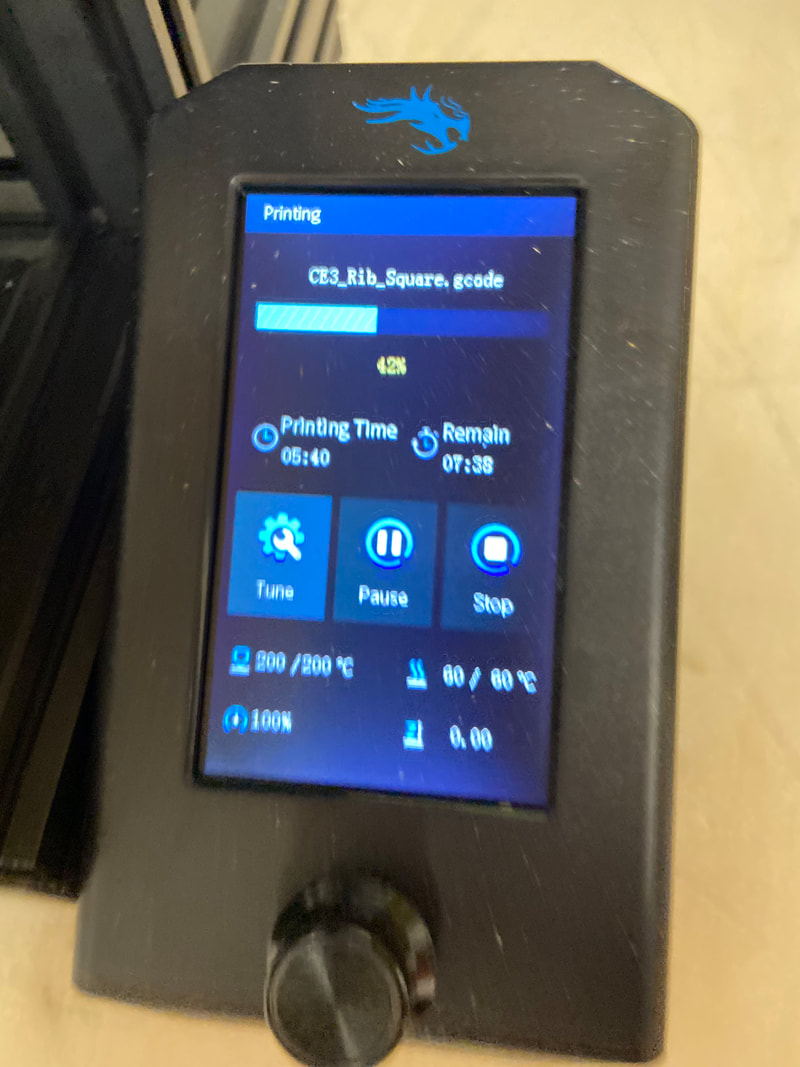
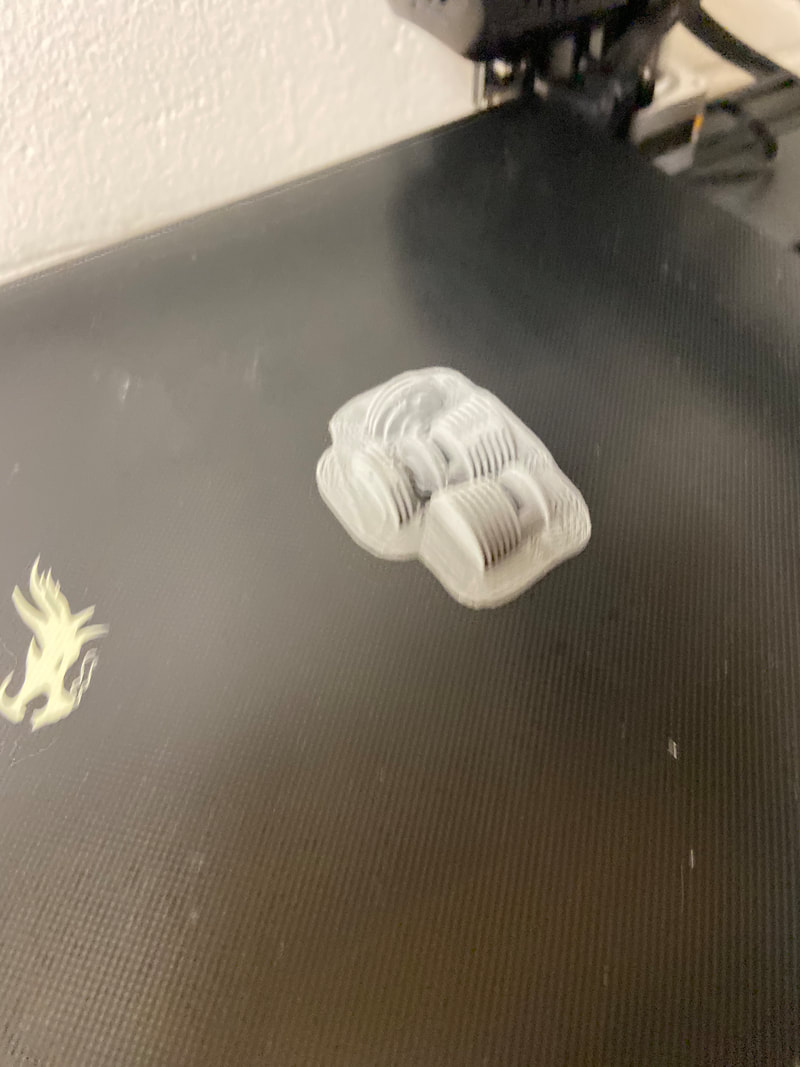
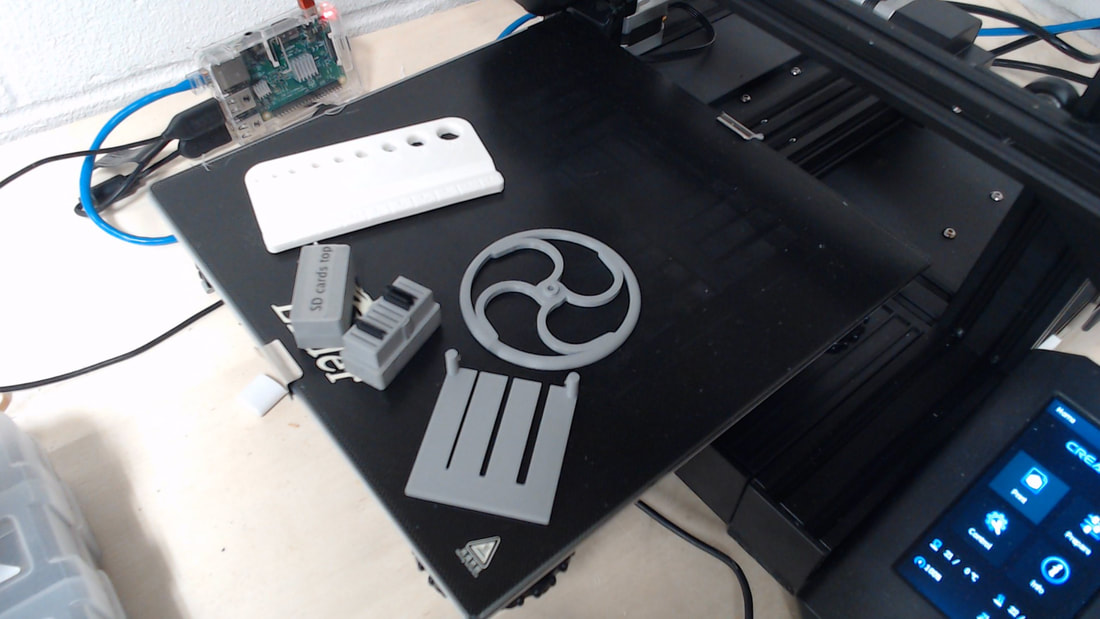
Yes I got a 3d printer for Christmas. It has been a lot of fun figuring it out. I am using it to print out stuff related to the airplane and HAM radio hobby. The printer will make enclosures for circuit boards, wheels, jigs and fixtures for building. Scale details like Dummy engines, machine guns and bombs are possible with this unit. The printer is kind of a quality entry level one, in the $200 range. It is a Creatlity Enender. Its a nice printer and has a nice low cost upgrade path, if I need to print harder material like nylon/ I did add a monitoring system that runs on a Raspberry PI single board computer. I had a Pi3 not being used, and with a spare old web cam, a few USB cables, and a download of Octopi I was all set. OctoPi is a free open source software package to monitor and control printers. It runs on Raspberry Pi, Windows and Linux computers. Where did get the designs to print? Lots of designs that people have already drawn are in on line libraries, or you can make them in a 3d drawing package like Tinker CAD or solid works. 3d files can be downloaded from yeggi . Once the drawing is done, you run a program called a slicer to lay out the layers and tool path. This generated what is called G code. G code contains the position of the print head and the tool path. G code describes each layer. The g code is sent to the printer and a print is made. Its a lot easier than this all sounds. The printer took about 3hrs to set up and print the first example files. I printed wheels, dummy cox cylinders, and building aids right away. Pretty happy with it. Here is a short 10 second video of a wheel being printed. it takes on frame every 10 seconds. So a 45 minute print is compressed to 11 seconds
0 Comments
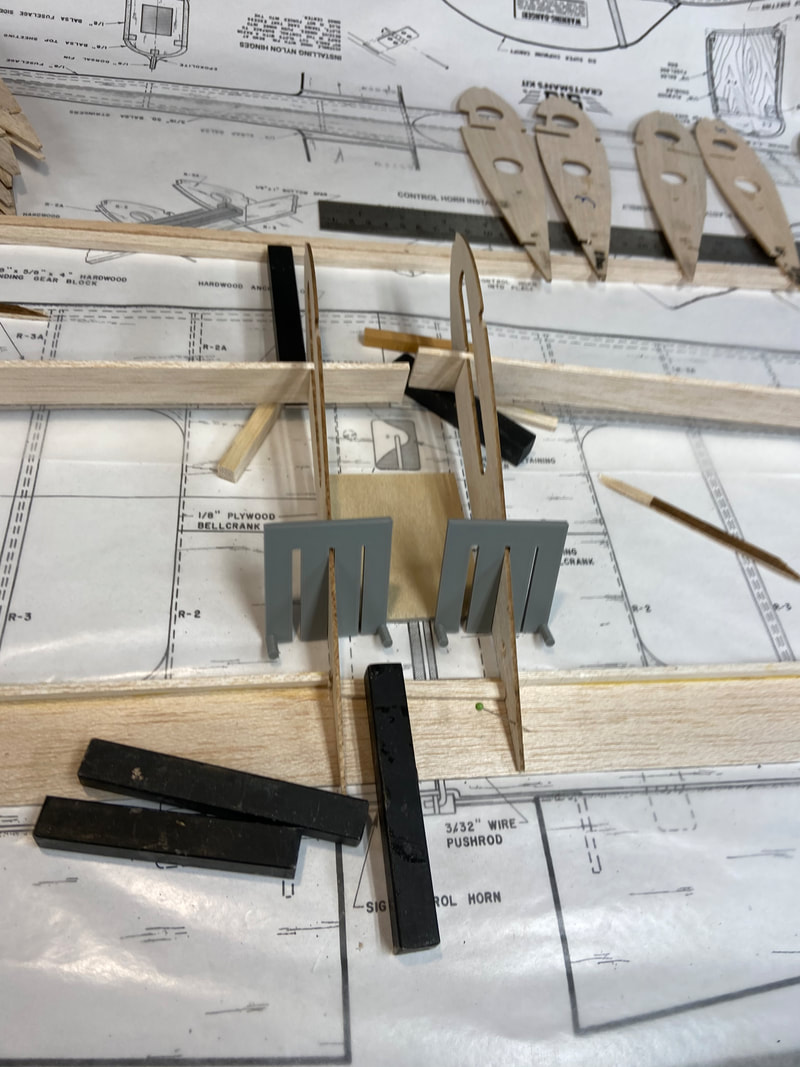
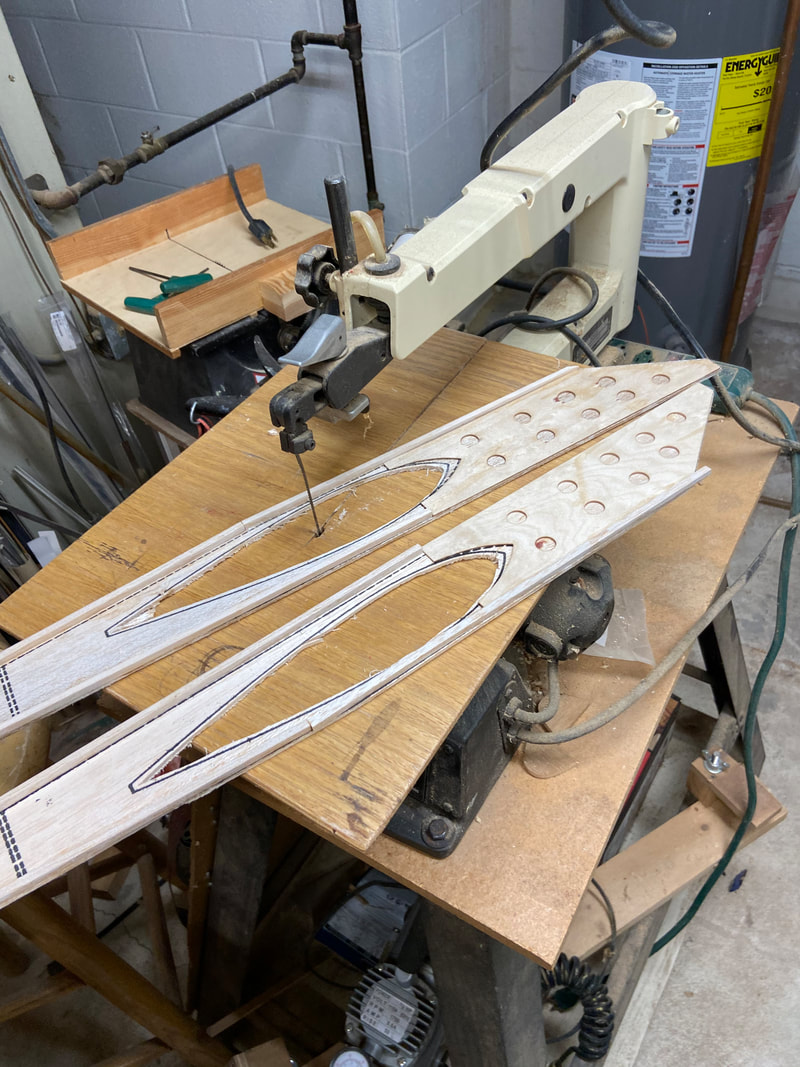
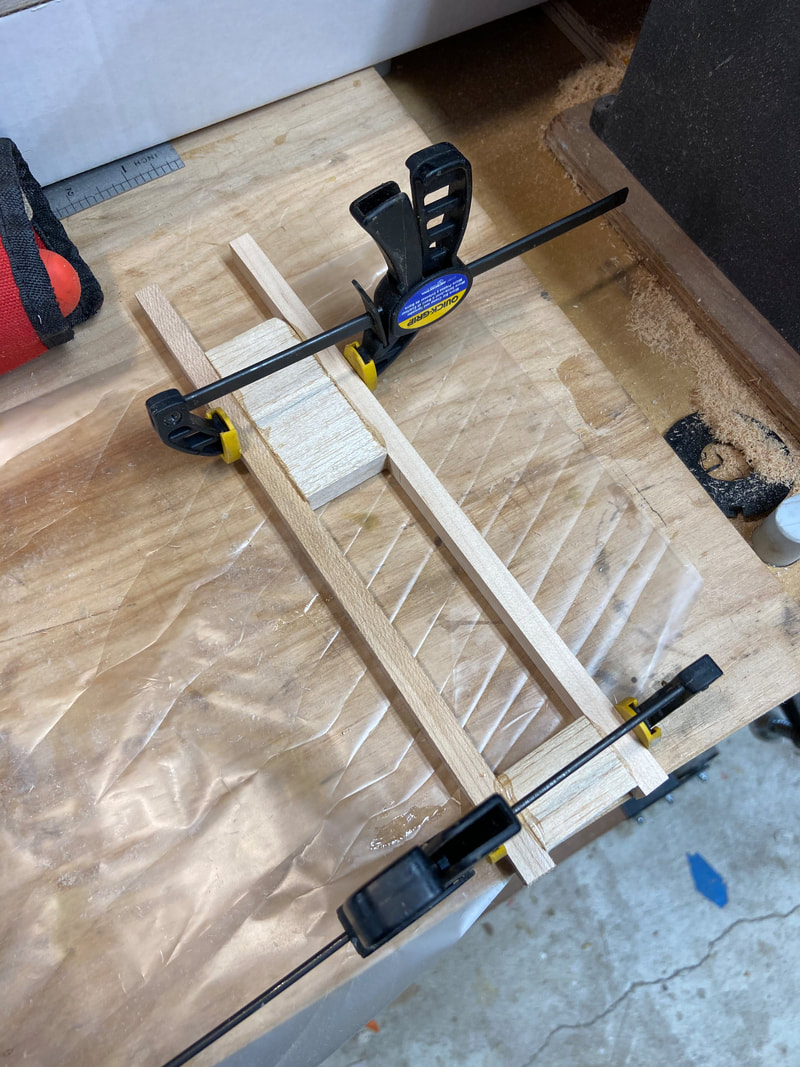
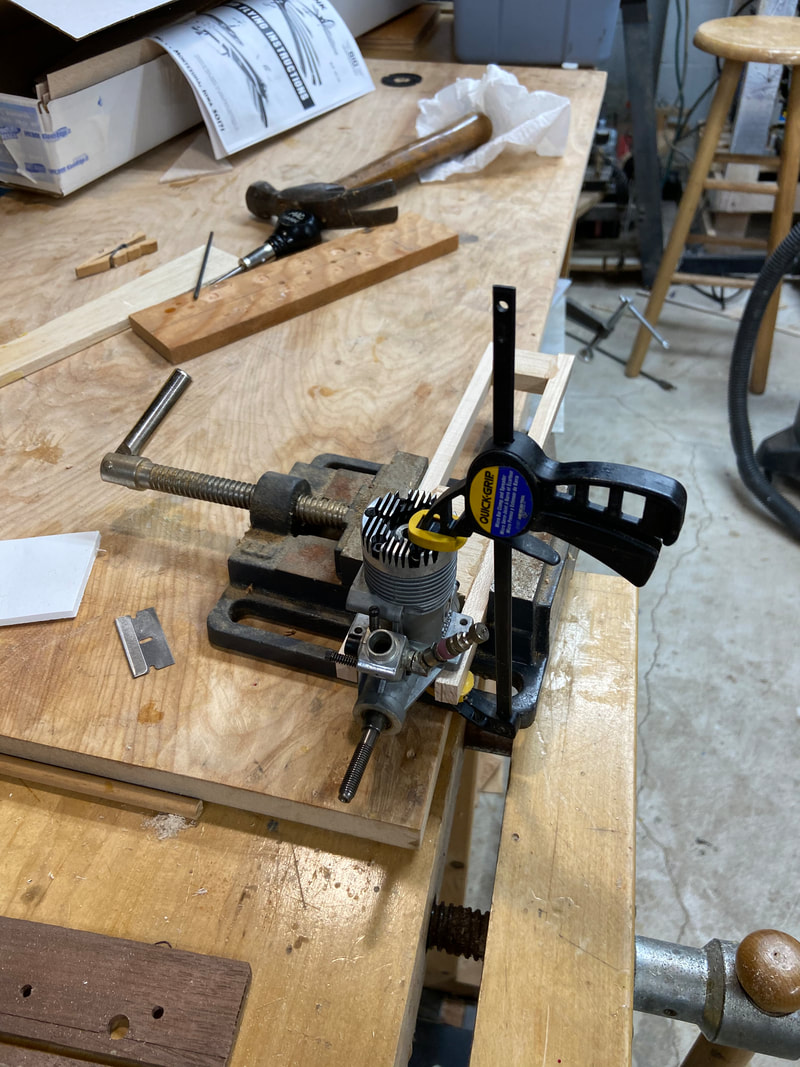
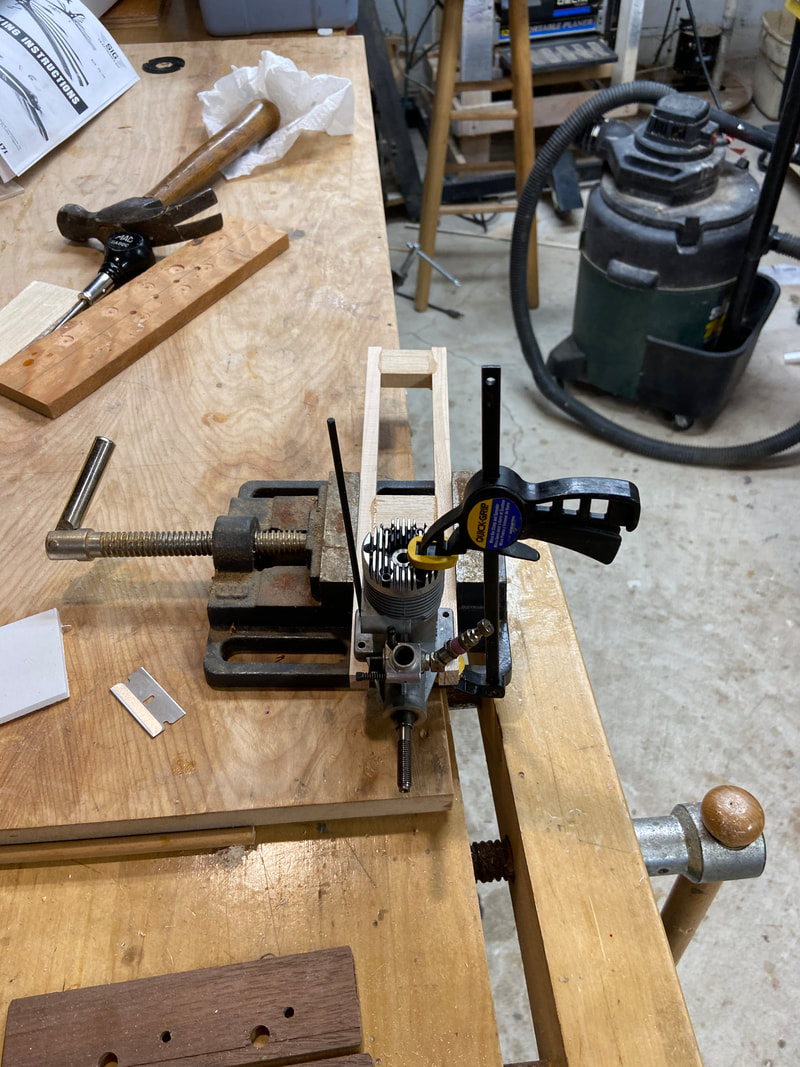
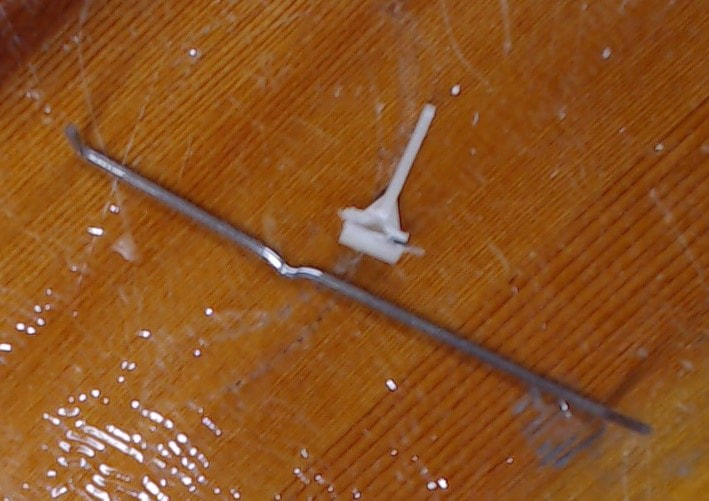
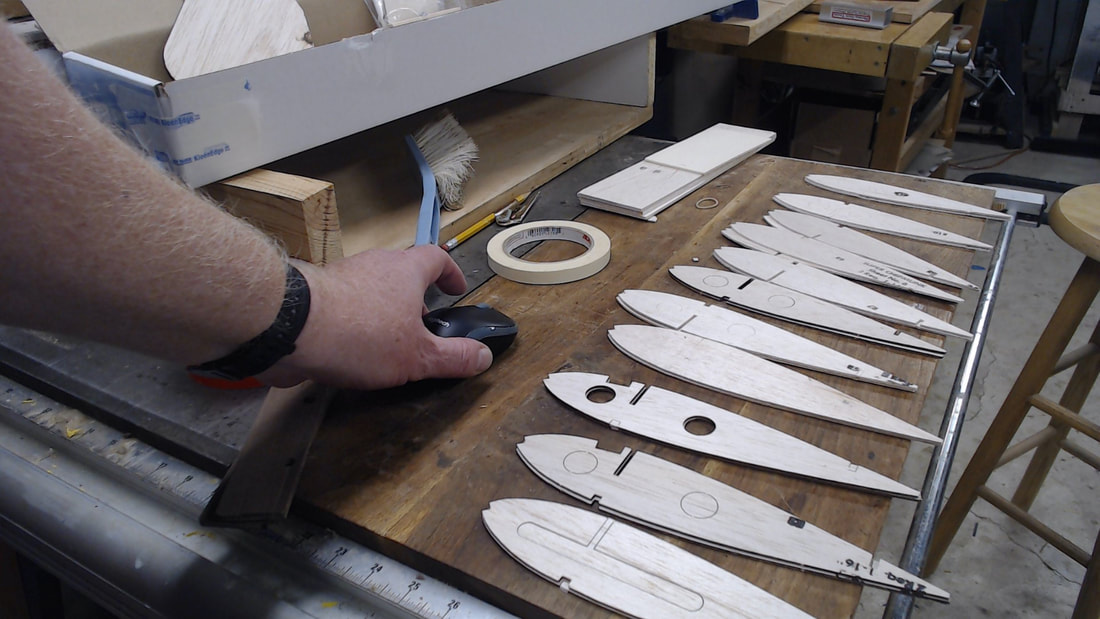
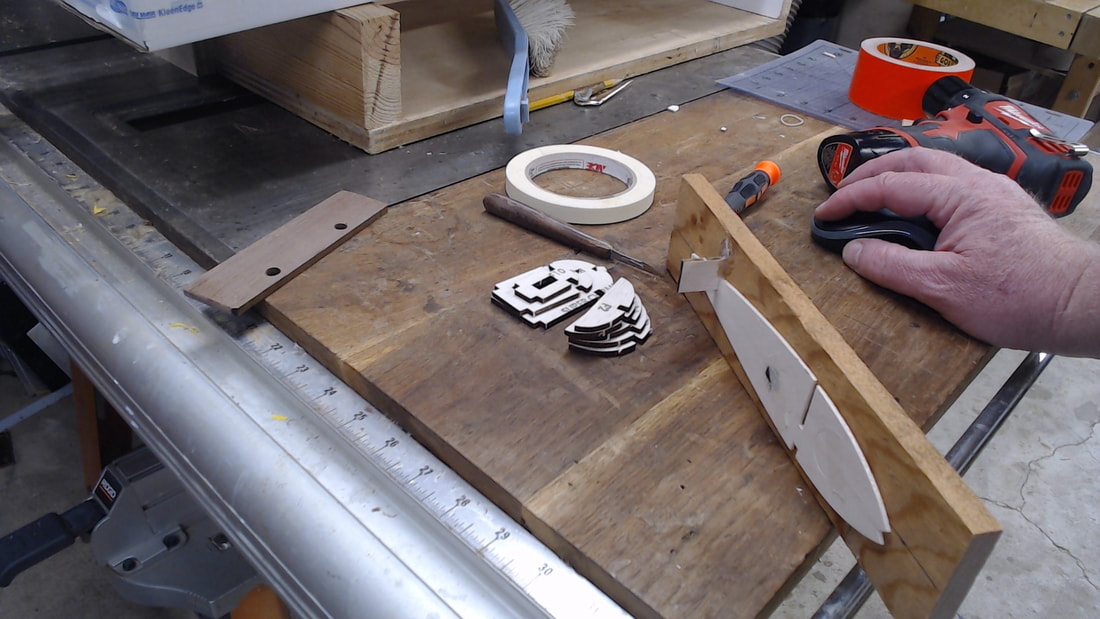
Shaping fuselage sides. Outlines are printed on the 1/8 hard balsa sides. 1/16 ply was CA'd after drilling holes. Square stock glued on the top and bottom and stack sanded to match them up. The kit was short on engine stick, so I ripped some hard maple from my stock. I added an engine crutch, I put it in all models now. It makes it easy to locate and drill mounting holes. I used transfer punches to locate the mounting holes and drilled them accurately. One the crutch is done, the sides were popped in a jig. The crutch was glued in upside down. Sig supplies a molded set of flap and elevator horns. I cut up an old one, and will not use it. I need to a set. The horns are flexy and and the little kink in the horn wire isn't enough to prevent rotation.
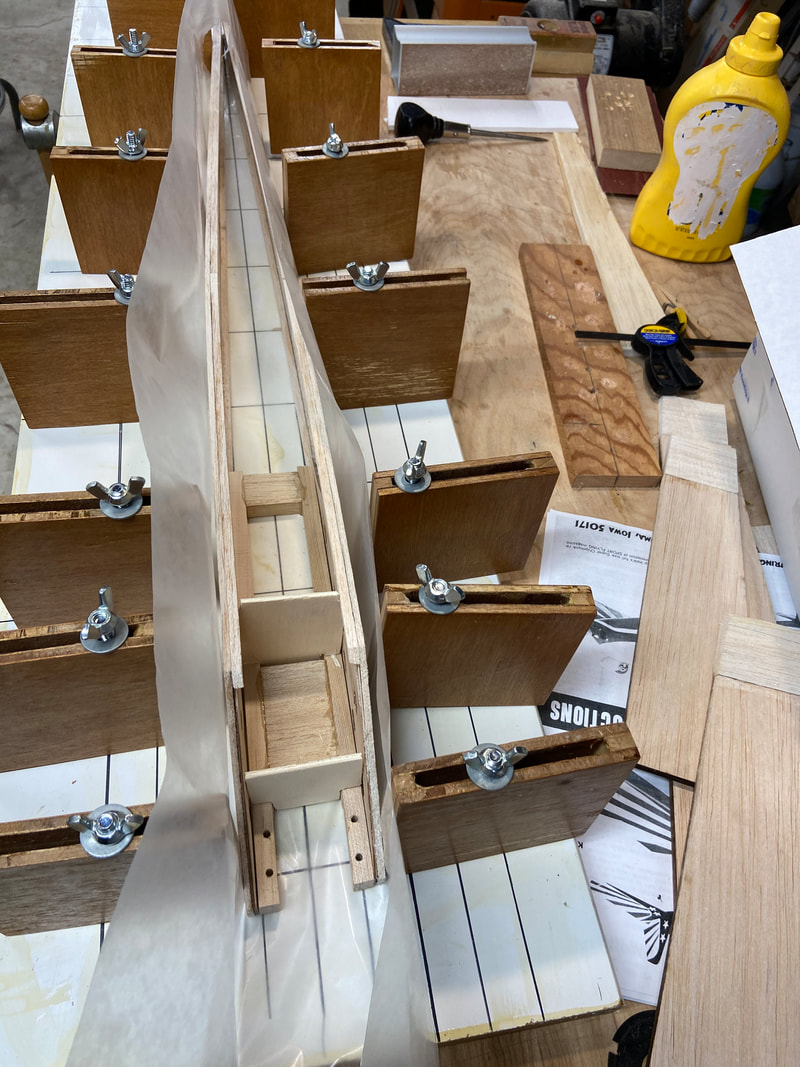
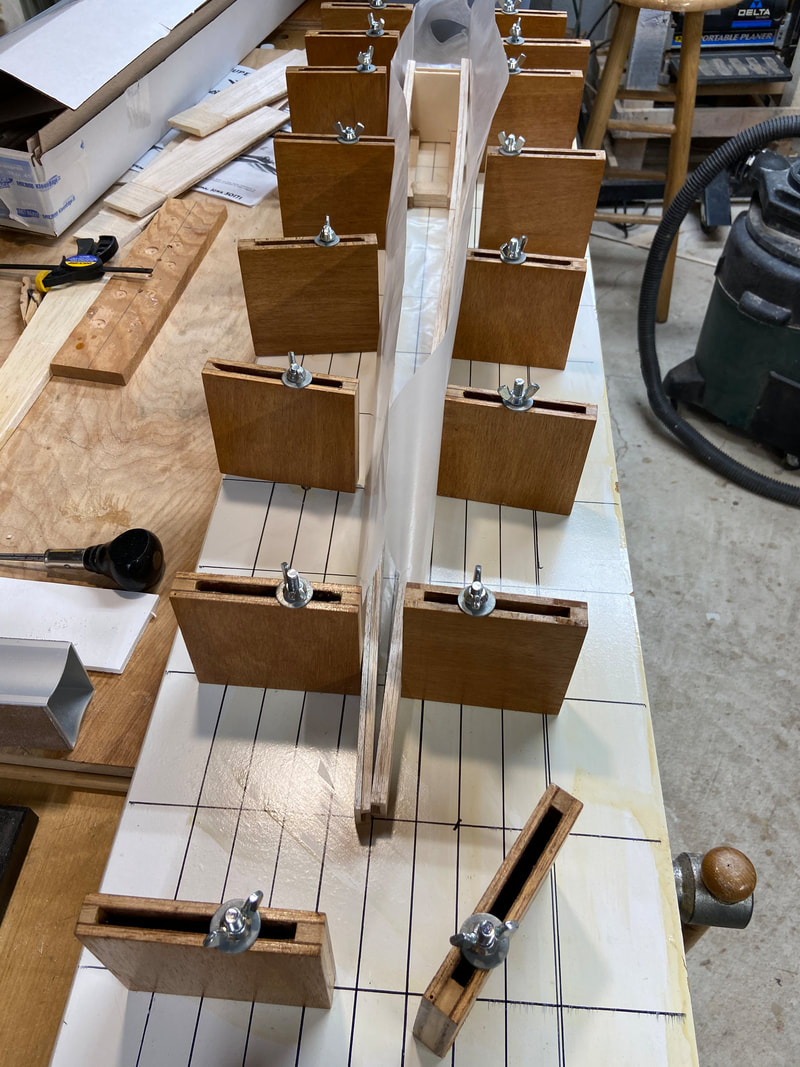
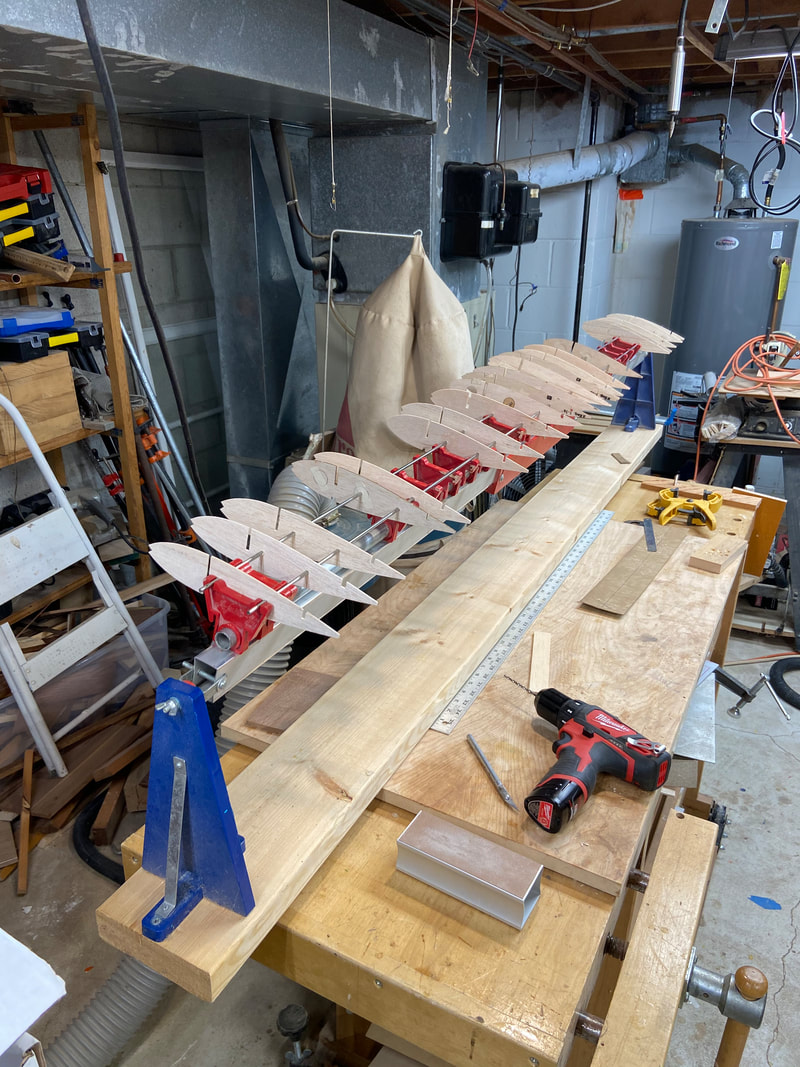
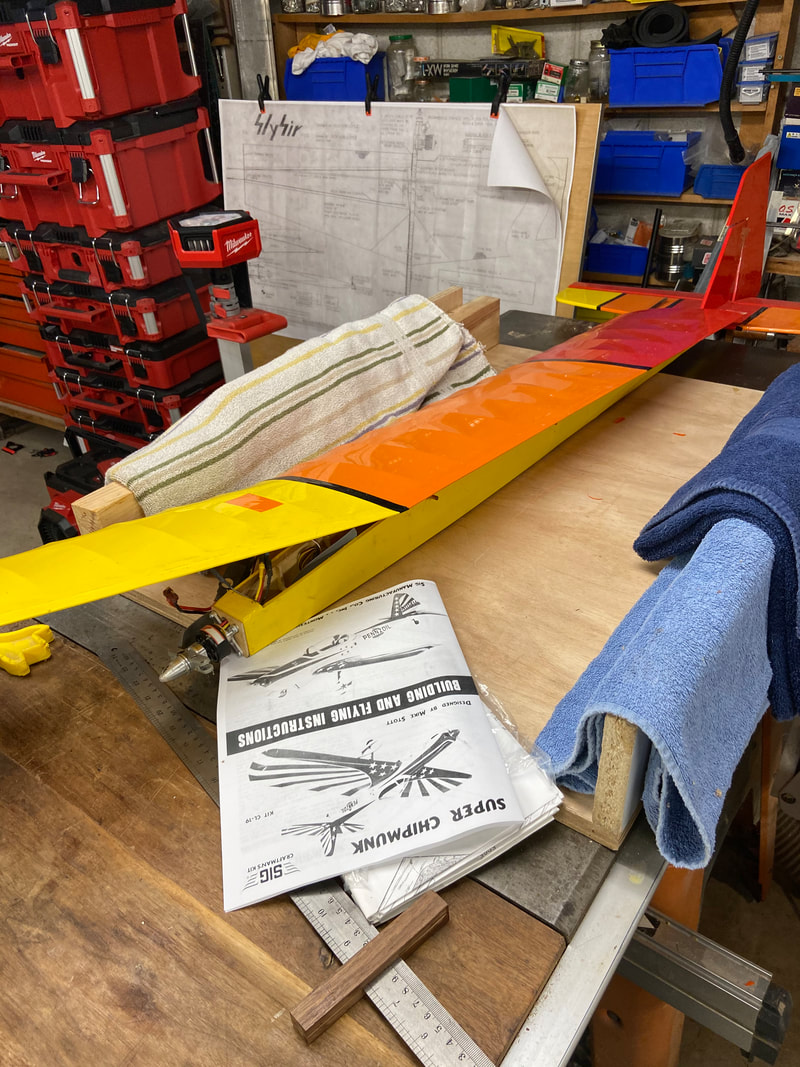
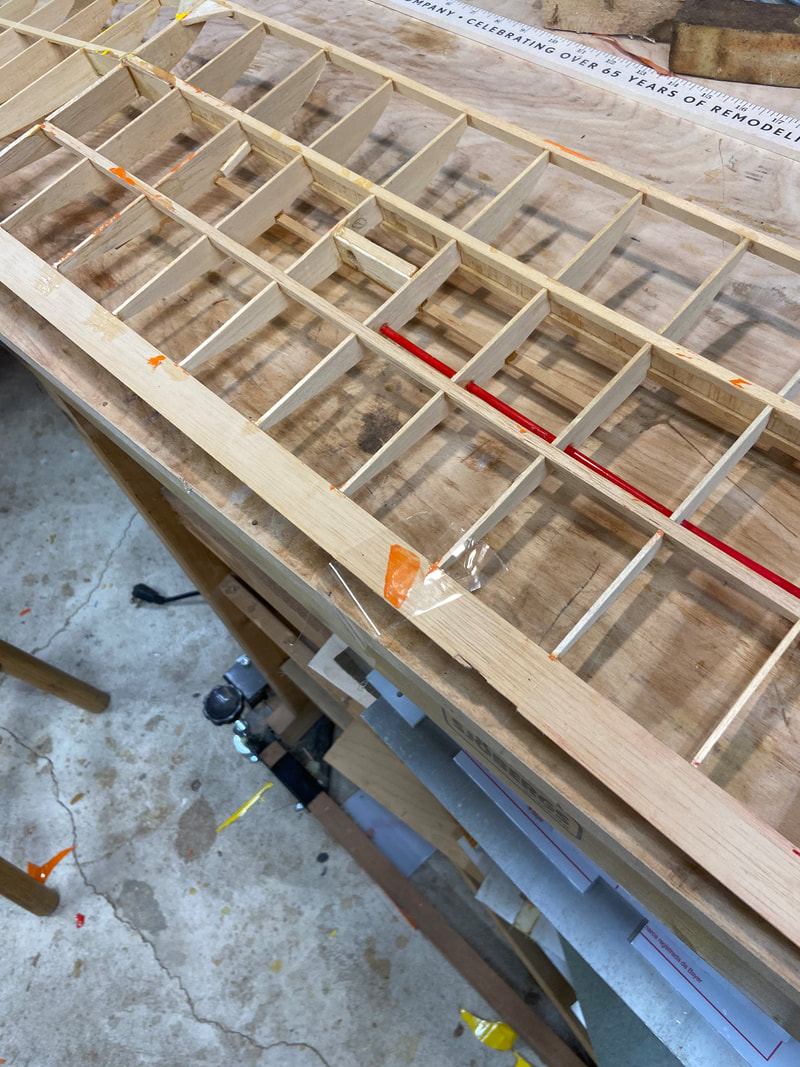
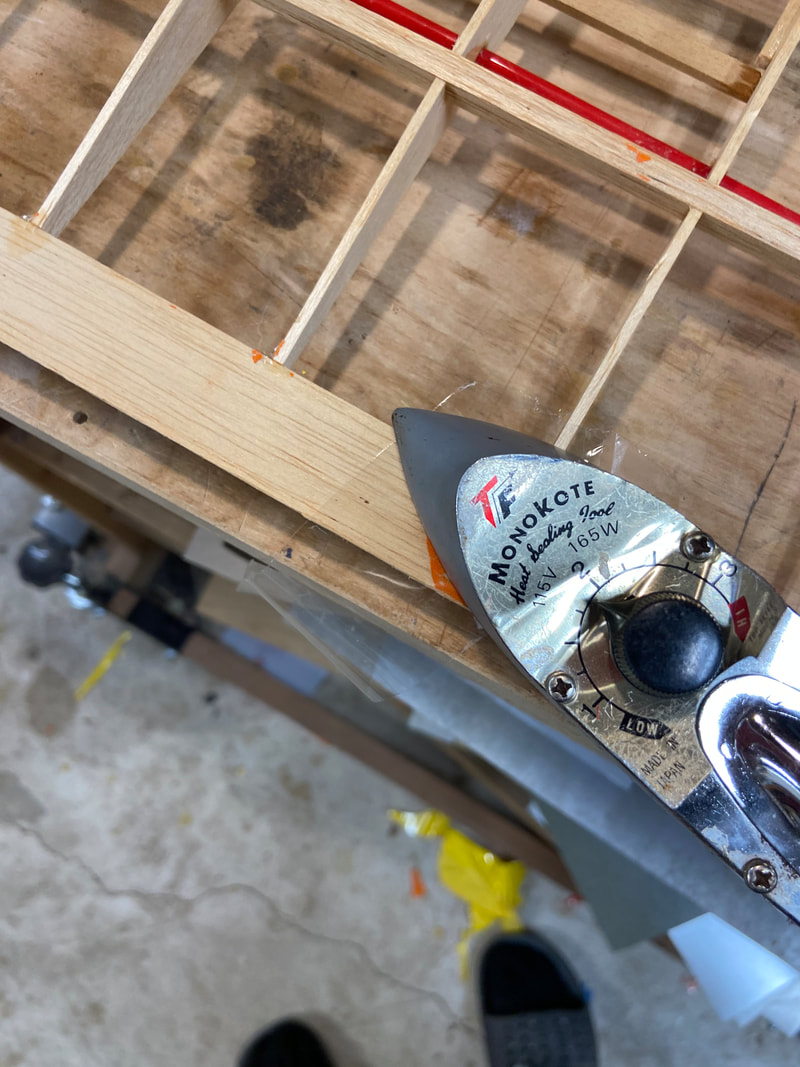
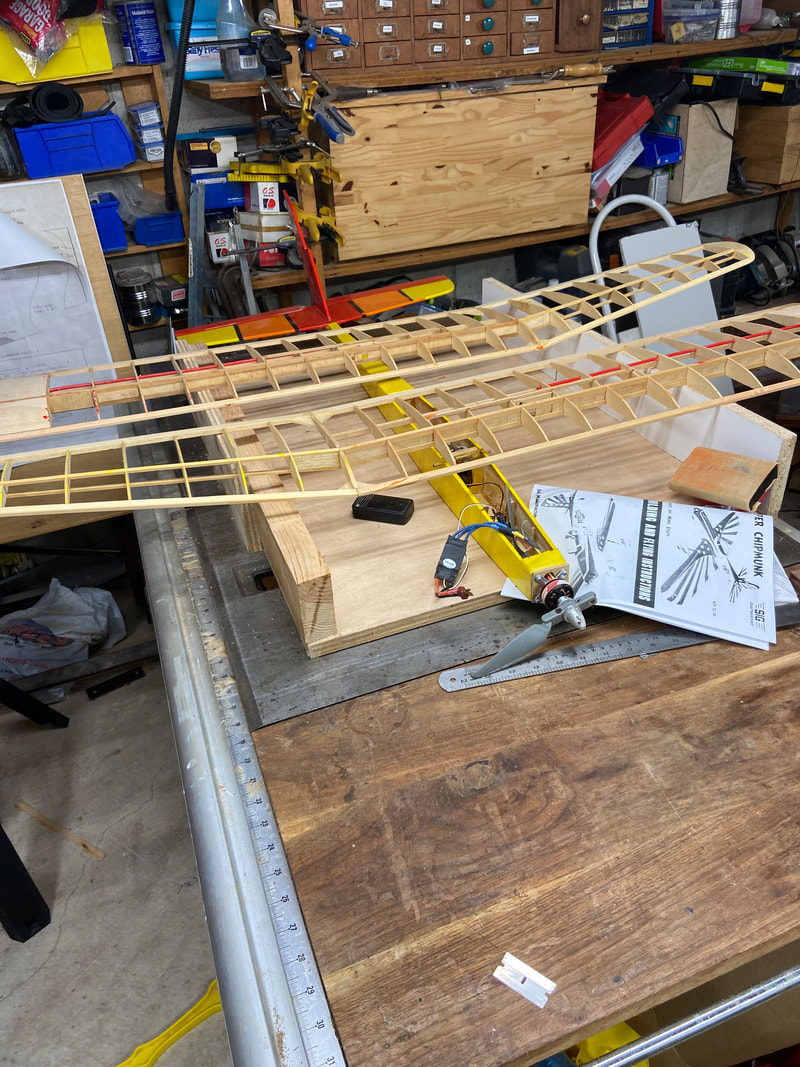
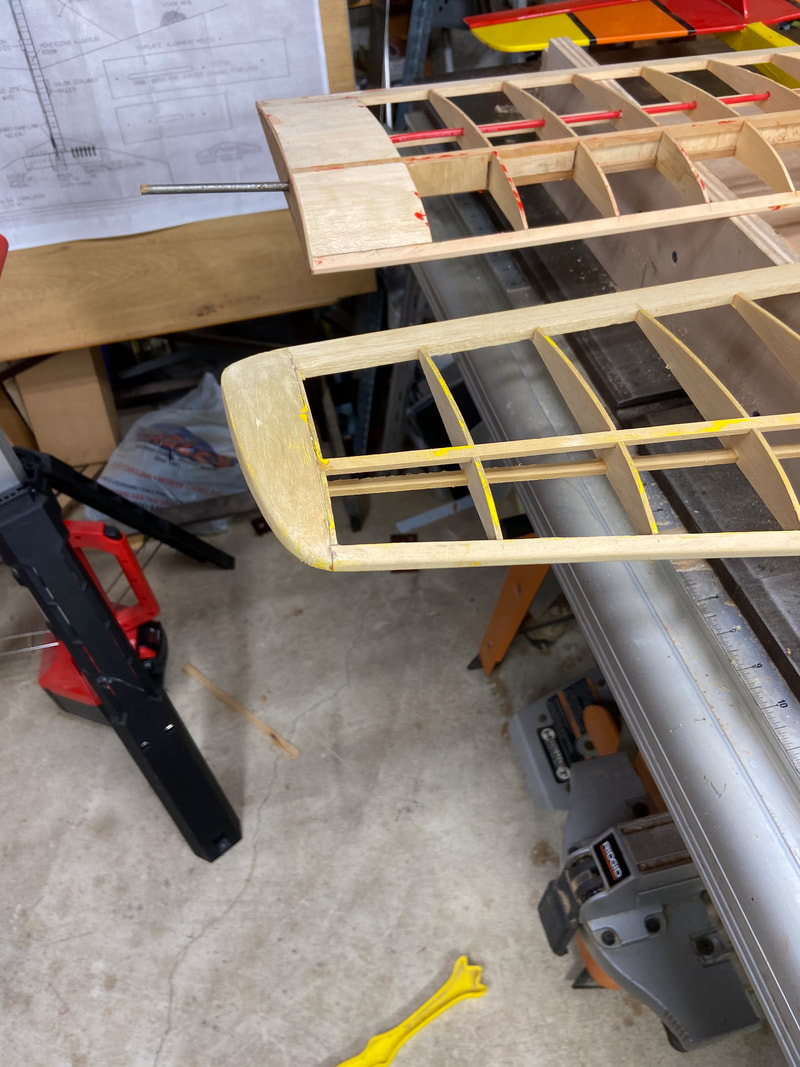
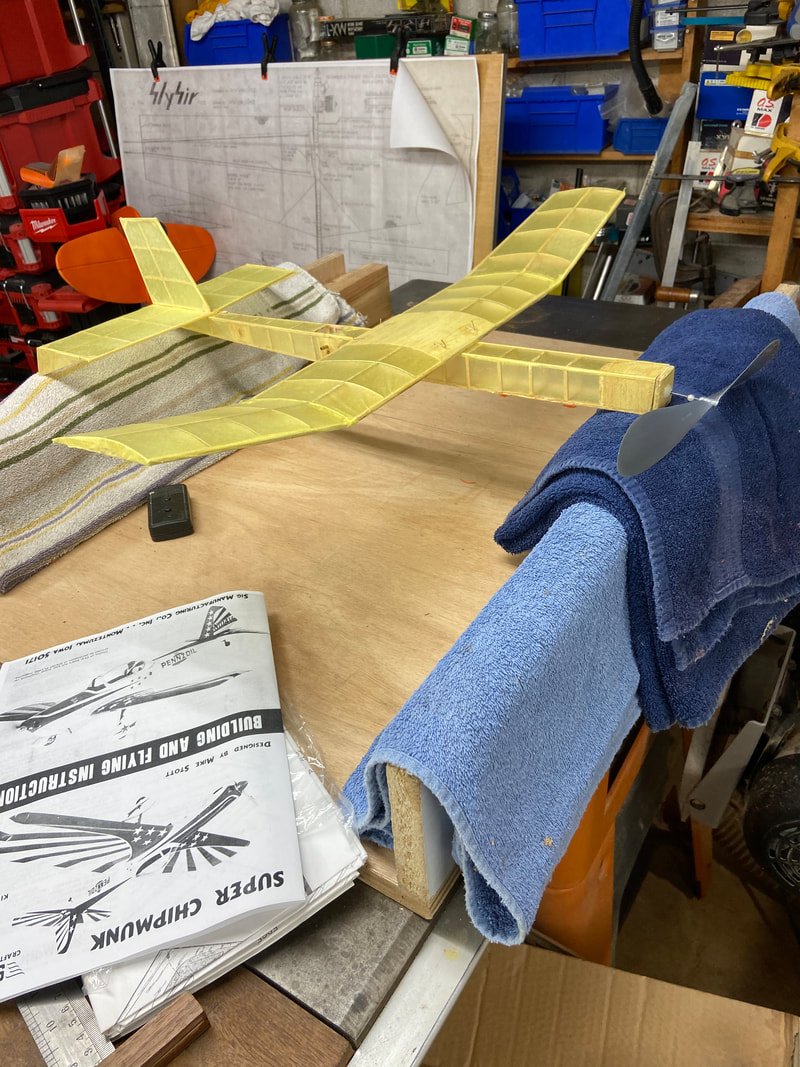
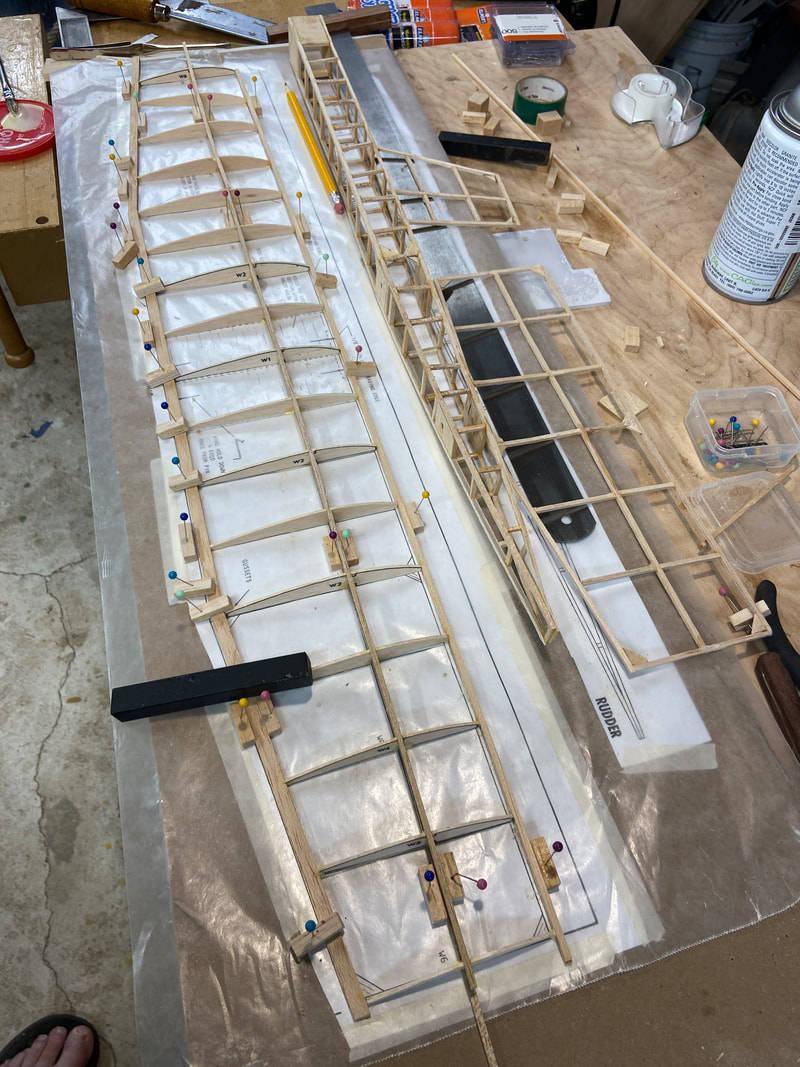
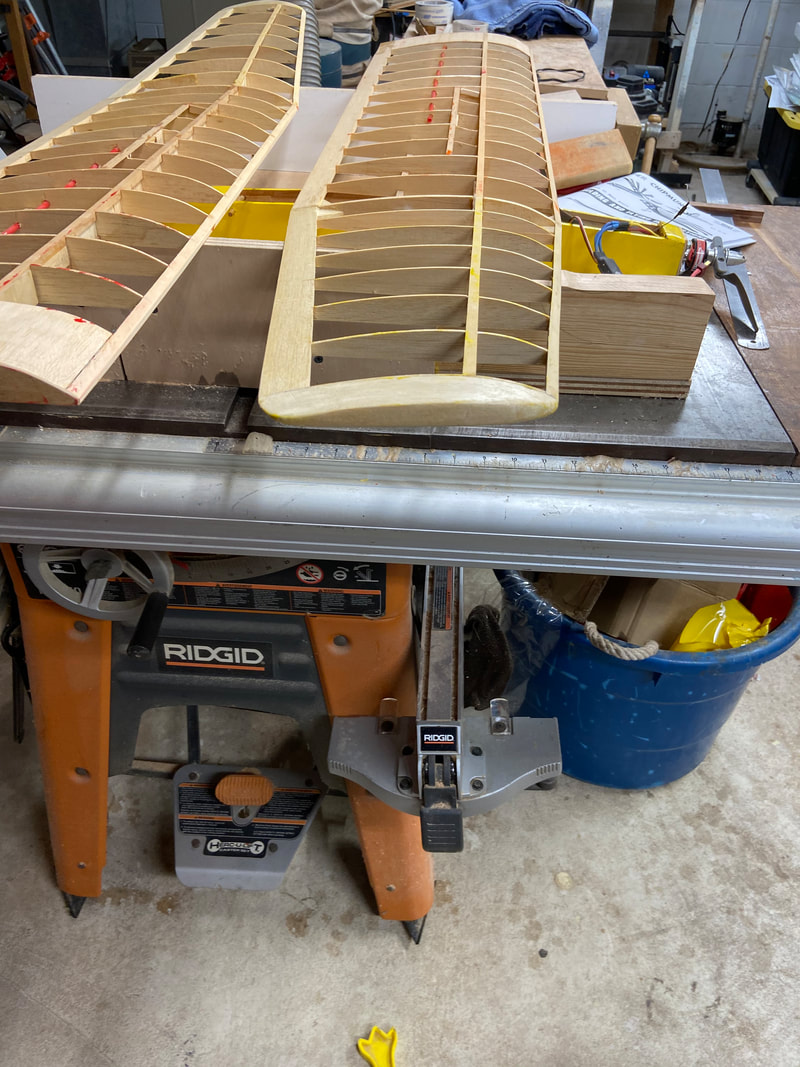
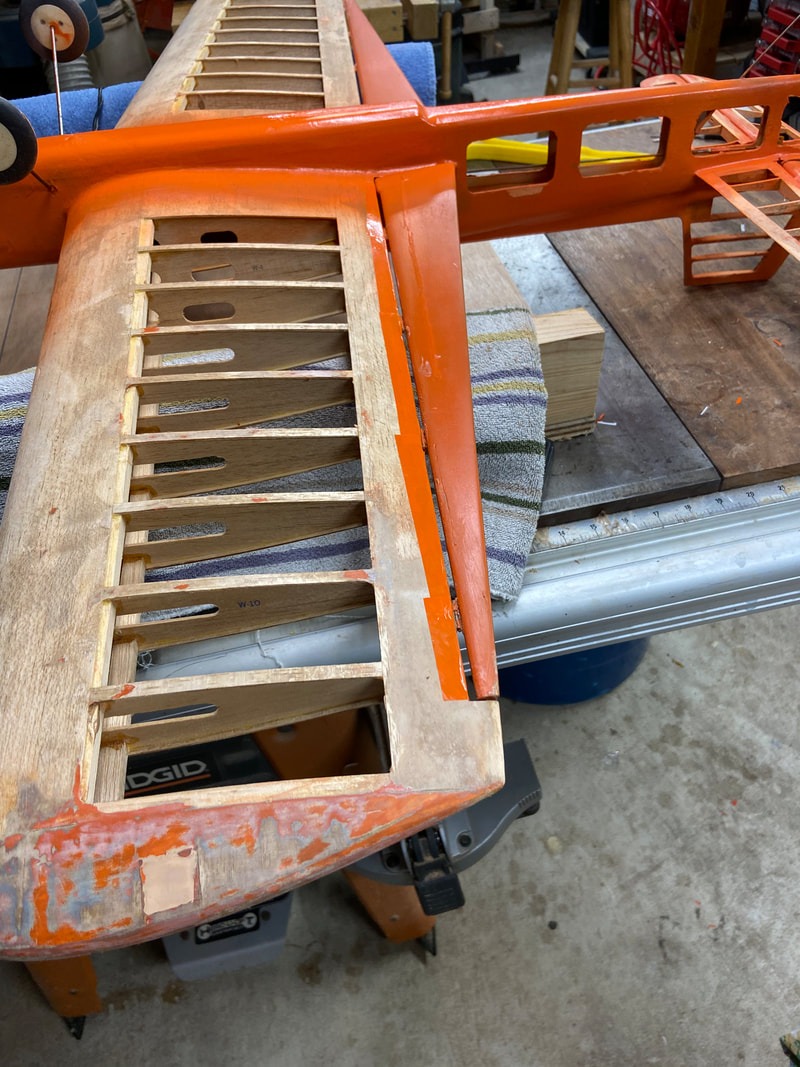
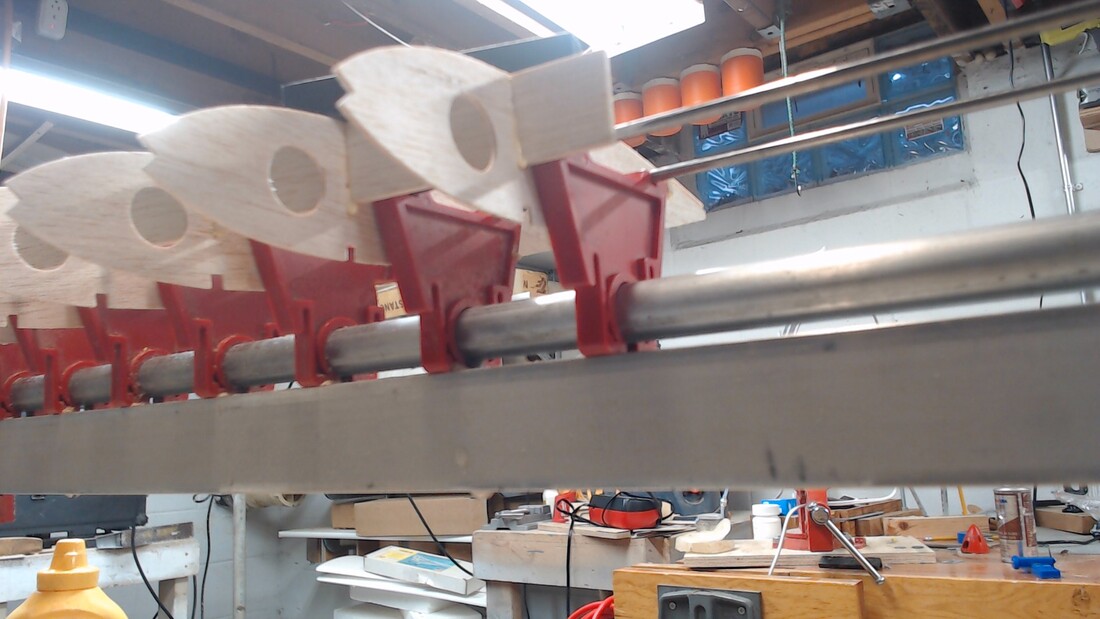 The chipmunk is good value and a great airplane but I am spoiled now by modern CAD based designed. The spar slots need trimmed and shimmed to get good alignment. The wood density varied to very hard to only slightly hard. The very hard wood was right on the ribs that hold the gear blocks so that is where you would use real hard wood. bottom side Trailing edge sheeting held on with weights Now the real advantage of the jig, I can flip it over and keep everything in place 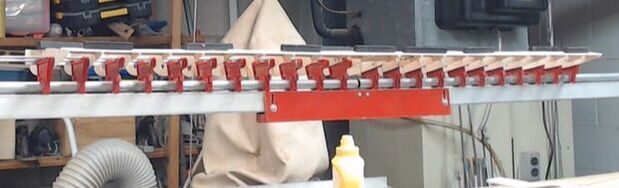 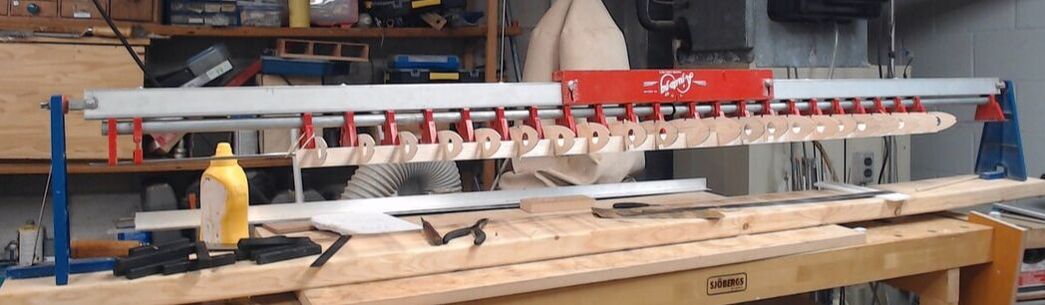 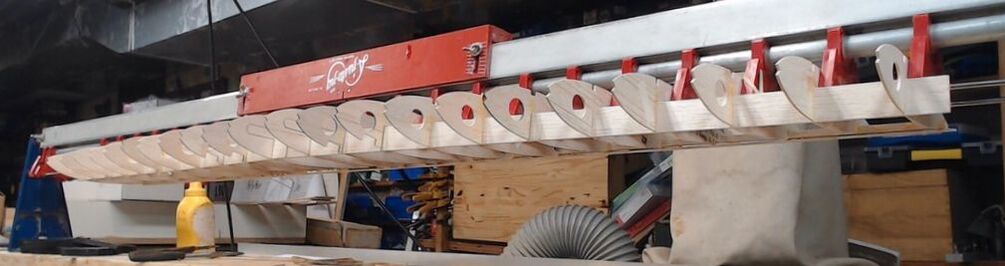 This is a build log of a super chipmunk build. Will use the adjusto jig I obtained from Peter. Day one was to remove the wing ribs and drill jig hole for the adjusto jig wires. Sig didnt semd me the contest balsa on this one. and some of the ribs are laser cut and some die cut. Very strange. Think I am going to like using the jig, although it is a pain to set up. Knockouts for leadout wire were secured with tape and 5/32" holes were drilled for the jig wires taking care not to be near the spars. Made a jig out of scrap pine to locate the jig holes. Olympic II doneOk not a Control line project, but this was waiting for me. Recover and repair an old Olympic II glider and add electric power to it. This is a Cragists list find. I always wanted one. Early RC flying I remember an Olympic 99 with a enya 09 on a wing pylon. This is the later Olympic II and the power is a .10 sized out runner on the nose.
Bright colors and one contrasting wing panel for visibility. A low KV 10 sized motor wont give rocket ship performance but it will get it up there. Need a battery and some nice clear weather 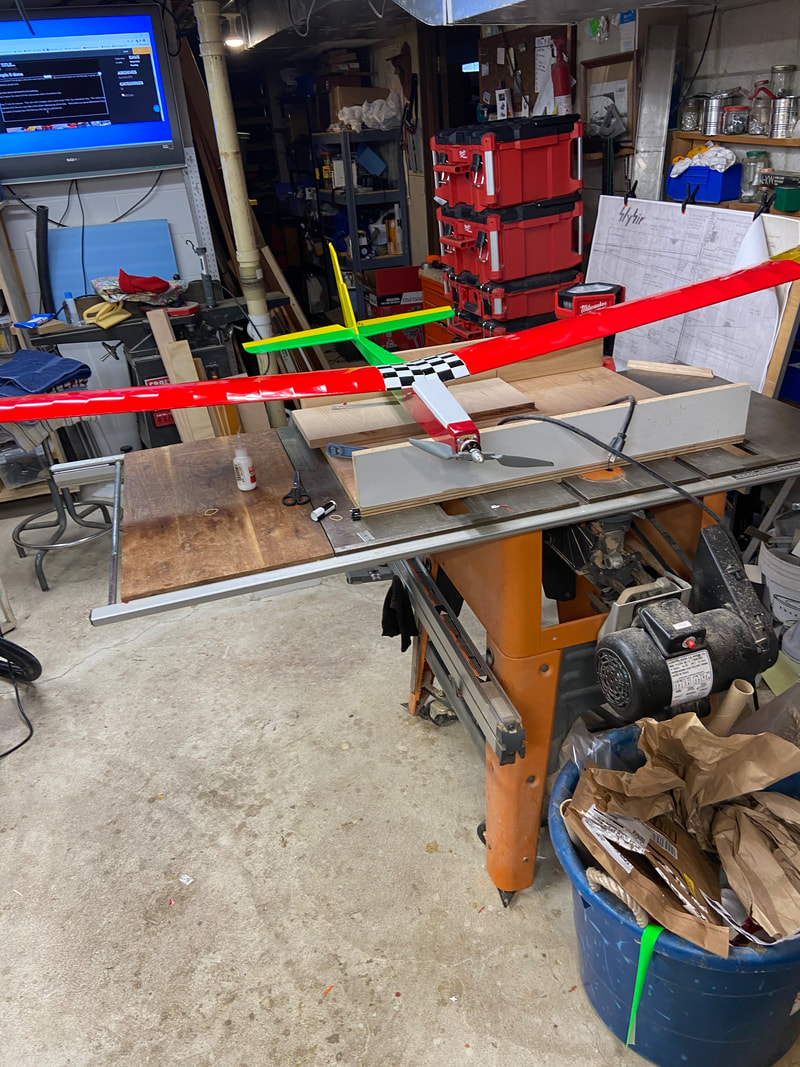 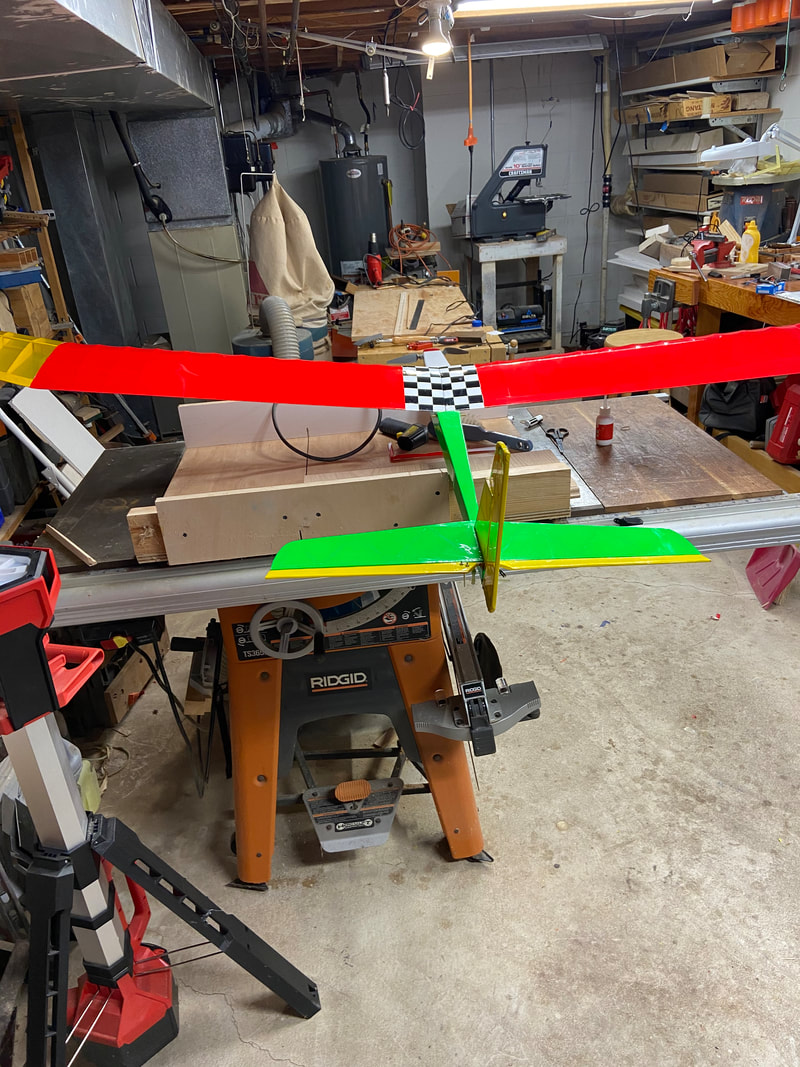
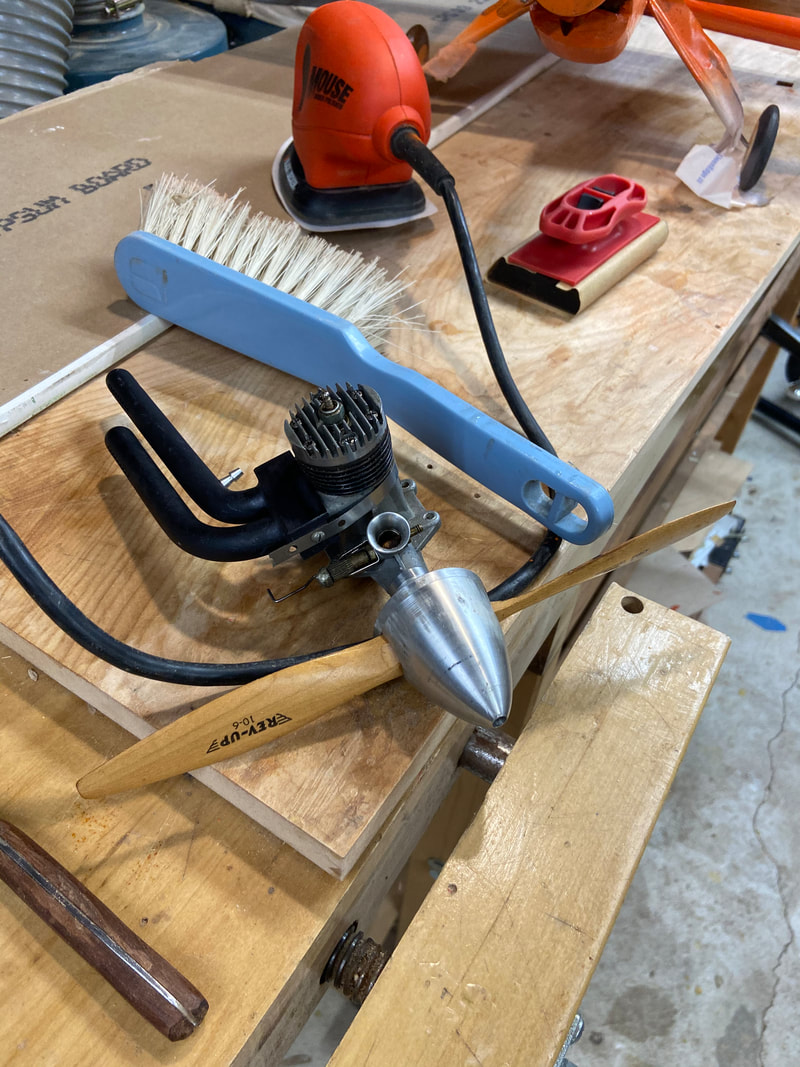
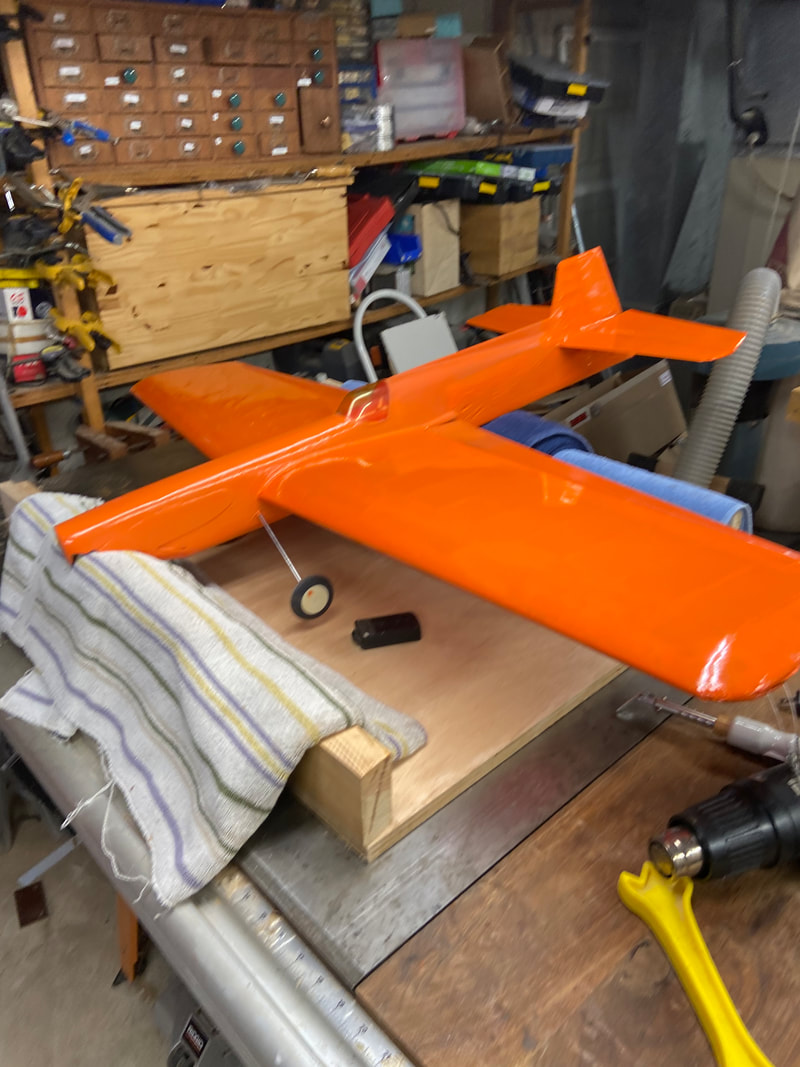
Muller install on A supertigre g12 for mongoose slow combat plane  Rehabbing an old Nobler. Rotten silkspan, bad tank, some crash damage. well build will be a good flier. OS MAX 35 series 1. Ultrakote, Orange Rustoelm is a good match for the orange dope. Airplane is from Oklahoma, came to me via my brother in Wichita
|
Archives
January 2021
Categories |


 RSS Feed
